
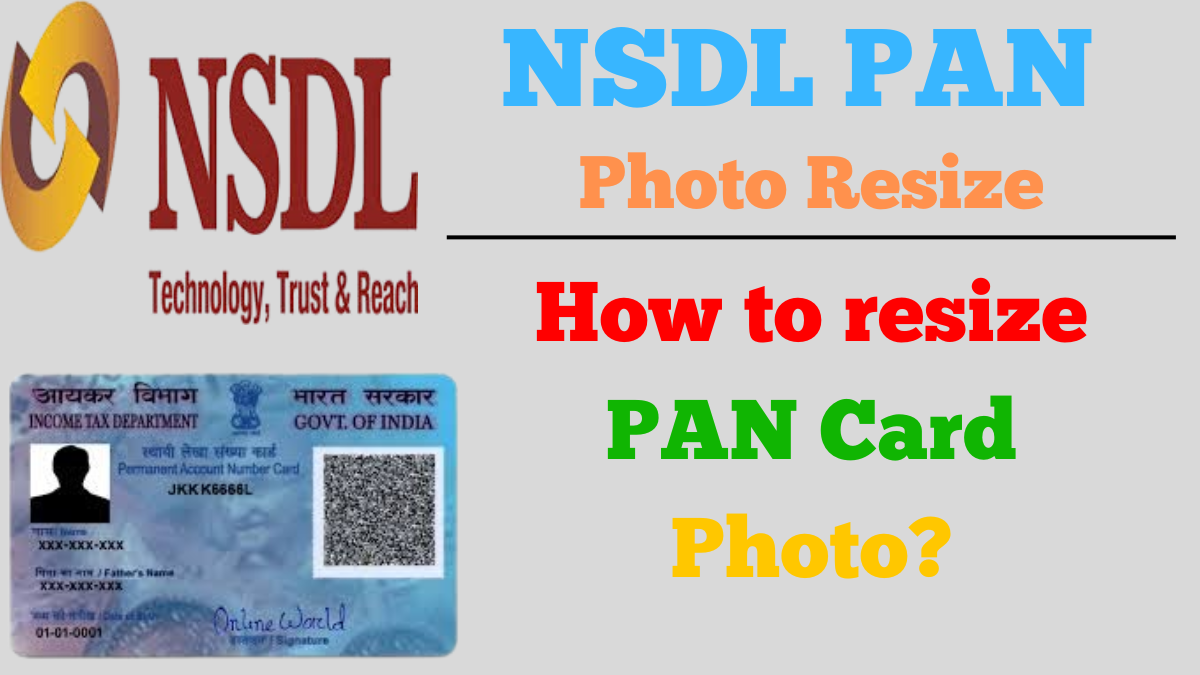
NSDL PAN Photo Resize: Learn how to properly resize and format your photograph and signature for a seamless PAN card application process through NSDL. This guide provides detailed steps, tools, and tips to ensure your images meet the required specifications.
NSDL PAN Photo Resize
Applying for a Permanent Account Number (PAN) card in India requires adherence to specific guidelines, especially concerning the submission of your photograph and signature. Properly formatted images are crucial to avoid application rejections and ensure a smooth processing experience. This article offers a comprehensive guide on resizing and formatting your PAN card photo and signature to meet the National Securities Depository Limited (NSDL) specifications.
Understanding NSDL Specifications for PAN Card Images
Before proceeding with your application, it’s essential to familiarize yourself with the exact requirements for both photographs and signatures.
1. Photograph Specifications
- Dimensions: 3.5 cm x 2.5 cm
- Resolution: 200 DPI
- File Format: JPEG
- File Size: Maximum 20 KB
- Background: White
- Color: Color photo
Note: Ensure the photograph is recent, clear, and without any marks or stains. The quality of the image directly affects the clarity on the PAN card.
2. Signature Specifications
- Dimensions: 2 cm x 4.5 cm
- Resolution: 200 DPI
- File Format: JPEG
- File Size: Maximum 10 KB
- Color: Preferably black or blue ink on white background
Note: The signature should be clear and within the designated box. Avoid overwriting or touching the edges.
Read More: PAN Correction Form: How to Update Your PAN Details?
Tools for Resizing PAN Card Photos and Signatures
To meet the above specifications, several online tools can assist in resizing and formatting your images appropriately.
1. PAN Card Resizer
This online tool allows users to crop, resize, convert, and compress photographs and signatures specifically for PAN card applications.
Features:
- Adjust dimensions in centimeters (cm)
- Reduce file size to meet KB requirements
- Supports JPEG format
How to Use:
- Visit the PAN Card Resizer website.
- Upload your photograph or signature.
- Adjust the crop box to fit the required dimensions.
- Download the resized image.
2. NSDL PAN Card Signature Resizer
Specifically designed for resizing signatures, this tool ensures your signature image meets NSDL’s criteria.
Features:
- Simple interface for quick resizing
- Adjusts brightness and contrast
- Ensures file size compliance
How to Use:
- Access the NSDL PAN Card Signature Resizer.
- Upload your signature image.
- Edit as necessary to remove unwanted areas.
- Download the final resized signature.
3. Form Photo Editor
This platform offers a PAN card signature resizer and crop tool, facilitating precise adjustments.
Features:
- Customizable dimensions
- Real-time preview
- Supports multiple file formats
How to Use:
- Navigate to the Form Photo Editor.
- Select and upload your signature file.
- Adjust the image within the crop box.
- Download the resized signature for your application.
Step-by-Step Guide to Resizing Images for PAN Card Application
Ensuring your images meet NSDL’s specifications is crucial for a successful PAN card application. Follow these steps to resize your photograph and signature:
1. Preparing Your Images
- Photograph: Use a recent passport-sized color photo with a white background.
- Signature: Sign on white paper using black or blue ink.
2. Scanning the Images
- Resolution: Set the scanner to 200 DPI.
- Format: Save the scanned images in JPEG format.
3. Resizing Using Online Tools
- Upload: Visit one of the recommended tools and upload your image.
- Adjust Dimensions: Use the crop feature to set the correct size (3.5 cm x 2.5 cm for photos; 2 cm x 4.5 cm for signatures).
- Compress File Size: Ensure the file size is within the required limits (20 KB for photos; 10 KB for signatures).
- Download: Save the resized image to your device.
4. Uploading to the PAN Application Portal
- Access the NSDL Portal: Go to the NSDL PAN application page.
- Fill in the Application: Enter the required details accurately.
- Upload Images: When prompted, upload the resized photograph and signature.
- Review and Submit: Ensure all information is correct before final submit.
5. Reviewing and Submitting the Application
Once the images are uploaded:
- Verify Details: Ensure all the entered information is correct and matches your documents.
- Submit Application: Click on the final Submit button to proceed.
- Receive Acknowledgment Number: After submission, an acknowledgment receipt with a 15-digit tracking number will be generated.
- Track Application Status: Use the acknowledgment number to check your application status on the NSDL PAN tracking portal.
Common Issues and Solutions in PAN Card Photo Resizing
Even after resizing your photo and signature correctly, you might encounter issues during the upload process. Below are common problems and their solutions:
1. Photo or Signature Not Uploading
Issue: The portal rejects the image.
Solution:
- Ensure the dimensions (3.5 cm x 2.5 cm for photos, 2 cm x 4.5 cm for signatures) are accurate.
- Check that the file size is below 20 KB for photos and 10 KB for signatures.
- Save the file in JPEG format and ensure the resolution is 200 DPI.
2. PAN Photo is Blurry or Distorted
Issue: Image quality reduces after resizing.
Solution:
- Use a high-quality scan at 200 DPI before resizing.
- Use an online tool that retains image clarity while reducing file size.
3. Signature is Cut Off
Issue: The uploaded signature is cropped or incomplete.
Solution:
- Re-scan the signature with extra space around it.
- Crop only the unnecessary white areas using an image editor, not the actual signature.
4. Image Format Not Supported
Issue: The system does not accept the file.
Solution:
- Convert the image to JPEG format using a tool like ConvertImage.
Read More: NSDL PAN Tracking: How many days after my application can I track my PAN card status?
| Type | Size | Resolution | Format | File Size | Background |
|---|---|---|---|---|---|
| Photo | 3.5×2.5 cm | 200 DPI | JPEG | Max 20 KB | White |
| Signature | 2×4.5 cm | 200 DPI | JPEG | Max 10 KB | White |
FAQs about NSDL PAN Photo Resize
1. What is the required size of a PAN card photo?
The PAN card photo must be 3.5 cm x 2.5 cm, in JPEG format, and not exceed 20 KB.
2. Can I use a mobile app to resize my PAN card photo?
Yes, apps like Photo Resizer, Image Size, and Online Photo Editor can be used to adjust the image dimensions and file size.
3. What is the size of the signature required for a PAN card?
The signature must be 2 cm x 4.5 cm, in JPEG format, and under 10 KB.
4. How can I compress my PAN card image without losing quality?
Use online tools like TinyPNG, ImageOptim, or JPEG-Optimizer to reduce file size while maintaining quality.
5. Why is my PAN card application getting rejected?
Your PAN application may be rejected due to:
- Incorrect photo size or blurry image.
- Mismatched signatures (if the signature does not match official records).
- Incorrect document uploads (ensure all documents are valid and properly scanned).
6. Can I upload a black and white photo for my PAN card?
No, NSDL requires a color passport-sized photo with a white background.
7. How do I know if my PAN card photo has been accepted?
After submitting the form, check the application status through NSDL’s tracking portal. If there are issues, you will receive a notification for correction.
Conclusion: NSDL PAN Photo Resize
Properly formatting and resizing your PAN card photograph and signature is essential to ensure a smooth application process and avoid unnecessary rejections. By using online resizing tools and following the NSDL specifications, applicants can easily format their images within minutes.
If you encounter any issues, double-check your image dimensions, file format, and size before uploading. For further assistance, refer to NSDL and UTI PAN card portals or contact official support teams.
Keeping your PAN application error-free saves time and ensures quick processing and approval of your PAN card.